Bored & Stuck Inside? Creative Photography Ideas to Do at Home | Lockdown Tips | Part I
- Megan Calton

- Jul 13, 2021
- 3 min read
What you will need:
A steady surface/tripod
Your phone/camera
Yourself & regular household items
This post is here to inspire you to keep busy during lockdown as well as discovering your inner photographer! I’ve come up with some things you can do using bog-standard household things to make your photos look epic. I’ve drafted in some help from my siblings too for this post so a huge thanks to them – it just shows how easy it is to create beautiful imagery by thinking outside of the box.
TOP TIP: For sharp, clear photos make sure your camera/phone is on a steady surface. Or, if you’re holding it, ensure you’re leaning on something to make yourself still. This will make sure there’s no blurring of your images (unless of course that’s the look you’re going for).
The Mirror Trick
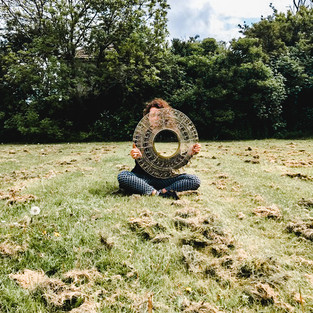
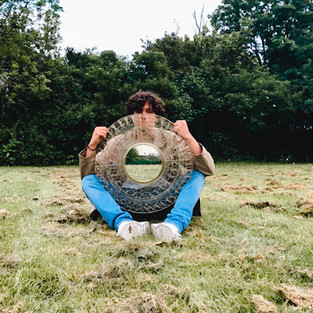
So, I’d imagine the majority of us have a mirror at home. In this instance, one that is easy to transport would be ideal! But there is so much you can do with reflective surface. For example, my brother and sister kindly agreed to help me with this (so you don’t have a billion photos of myself):
They used the mirror to cover up their middle, but ensuring their camera wasn’t in sight. This one is easier with 2 people however if you don’t have someone with you, if you set your phone camera on a timer or have a remote/timer for your camera this will work too. You will only need to angle your mirror a little off centre for this to work.
Give it a go!
Here’s some more inspiration:
2. Backdrops
I decided photograph my cactus (before it dies) & was trying to come up with some really different background for it. What do you think this is?
This photo was created using scrunched up tin foil – who would have thought? No need to buy fancy backdrops – when you’re stuck in, why not find out what can be used as a backdrop around your home? This almost looks as though there are fairy lights behind it...
Behind The Scenes:

3. Water
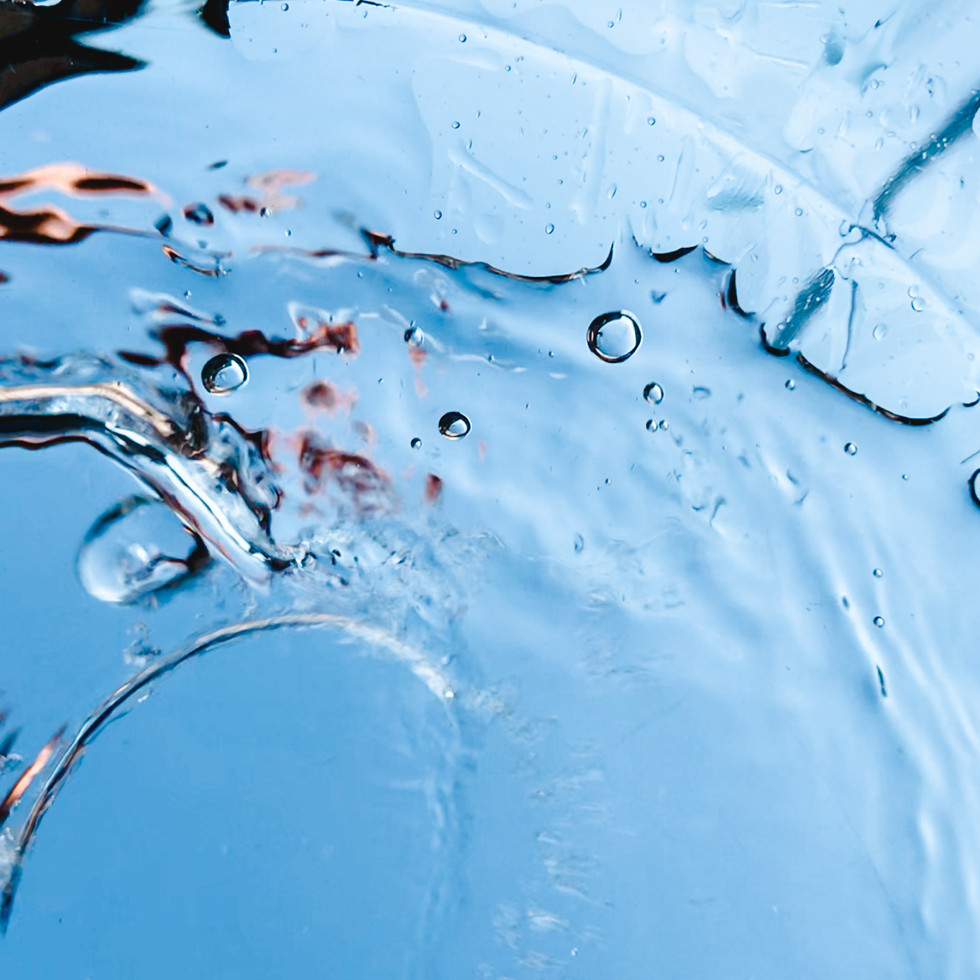
This one was a little risky but I'm almost certain my phone is splash proof! Believe it or not, these photos were again taken with an iPhone 7 Plus:
What I Did:
Step 1 - Put your phone on a steady surface e.g. the ground and start recording a video.
Step 2 - Place a clear covering over it e.g. a bowl.
Step 3 - Pour water over the bowl & try to stand back otherwise you will be in the photo!
Step 4 - When watching the video back, press pause and scan through the video slowly. Here is where you can screenshot your favourite parts!
Behind The Scenes:
Now, I have some more ideas but as I'm currently working full time at the Hospital in Peterborough I'm going do these in parts.. SO this was part 1 - stay tuned for part 2 coming soon!
If you try any of these out please share your photos with me! I'd love to see how you get on. You can send them to me in a message or tag me on social media so I can see it @caltonphotography.
Most importantly, have fun & try not to water damage your phones!
Megan x










Comments